Anche se “l’anno di Linux sul desktop sarà l’anno prossimo” (cit.), ormai le distro moderne funzionano senza troppi problemi anche per gli utenti meno tecnici.
A complicare le cose, spesso, ci si mettono gli altri. Nello specifico la TS-CNS italiana (Tessera Sanitaria/Carta Nazionale dei Servizi) e il middleware sviluppato da Bit4id.
Normalmente ci sarebbe OpenSC per interagire con i certificati presenti all’interno della Smart Card, tramite le API PKCS#11 fornite dalla libreria opensc-pkcs11.so.
Ma la CNS italiana è “speciale” e quindi ha bisogno di un middleware proprietario. Ci pensa Bit4id ed è scaricabile da qui oppure da qui come riportato anche nel Wiki di Ubuntu, ma voi non fatelo!.
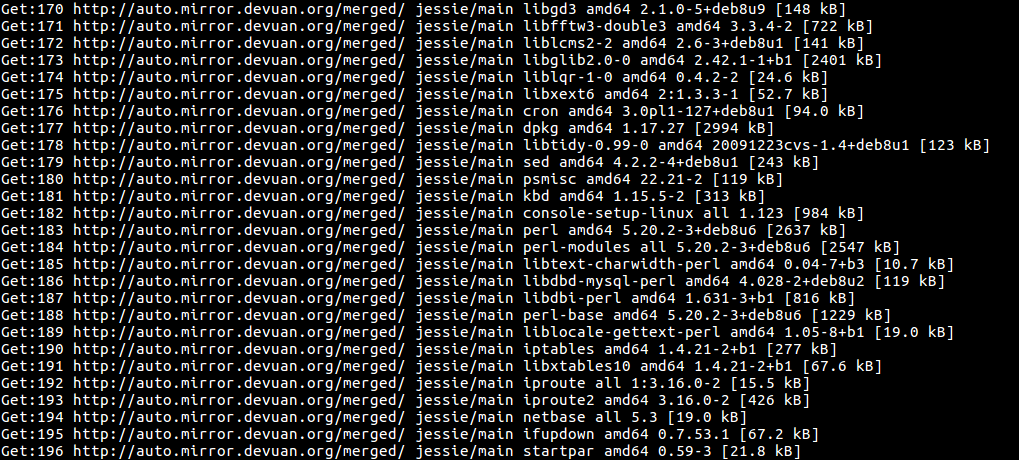
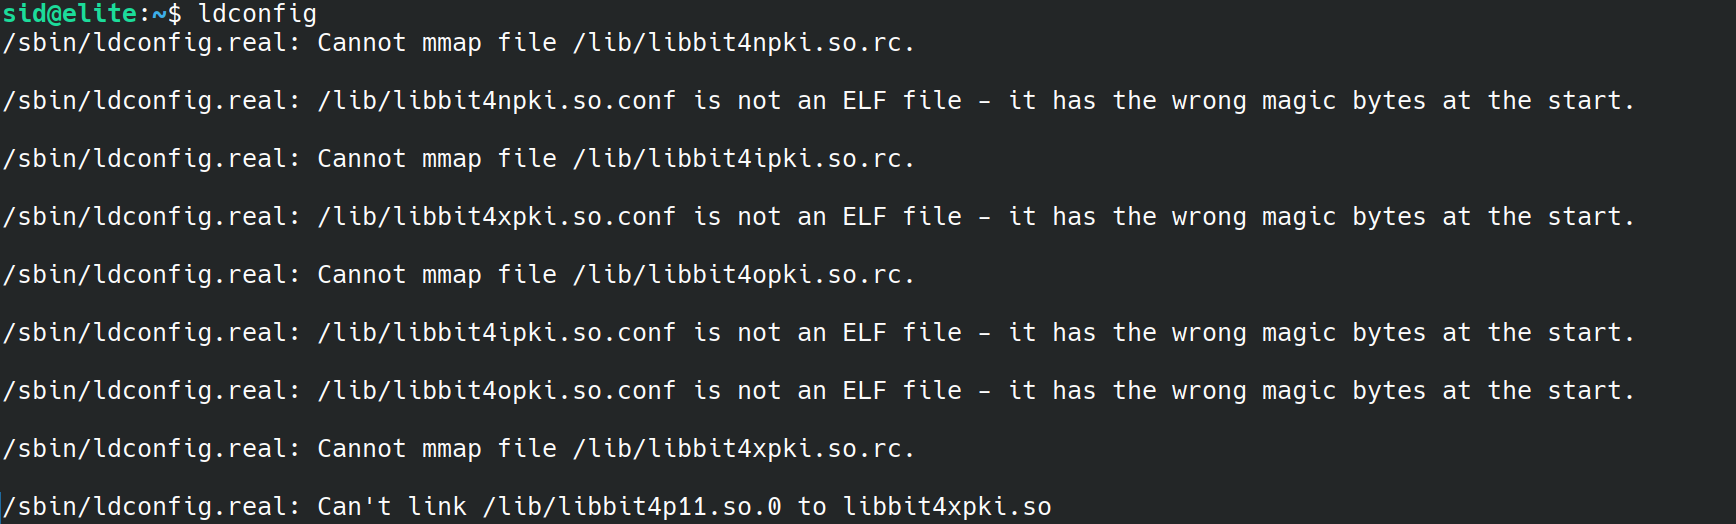
Fantastico che ci sia la versione per Linux, ma il pacchetto .deb per le distro Debian/Ubuntu utilizza un PATH non standard e installa all’interno delle directory di sistema destinate alle librerie alcuni file (con estensioni .rc e .conf) non conformi agli standard, dove normalmente dovrebbero essere presenti esclusivamente file con estensione .so (ELF shared object). La libreria bit4id richiede che i file .conf siano nella stessa directory 🙁
A seguito dell’installazione, il sistema genera dei warning ogni qual volta venga eseguito ldconfig.
Ho segnalato la questione a Bit4id. Nel frattempo possiamo sfruttare InfoCert GoSign che si porta dietro la stessa libreria middleware (libbit4xpki.so) evitando così di installare il pacchetto buggato.
GoSign è un software per la firma digitale e, visto che supporta la TS-CNS, ha bisogno di quel middleware. InfoCert l’ha inclusa nel suo pacchetto di installazione di GoSign per Debian/Ubuntu.
Autenticazione CNS e Firma Digitale con TS-CNS su Linux Debian/Ubuntu, un’installazione pulita senza warning
Firma Digitale
- Scaricare e installare InfoCert GoSign
- Fine
Autenticazione CNS con Firefox
- Scaricare e installare InfoCert GoSign se non l’avete già fatto
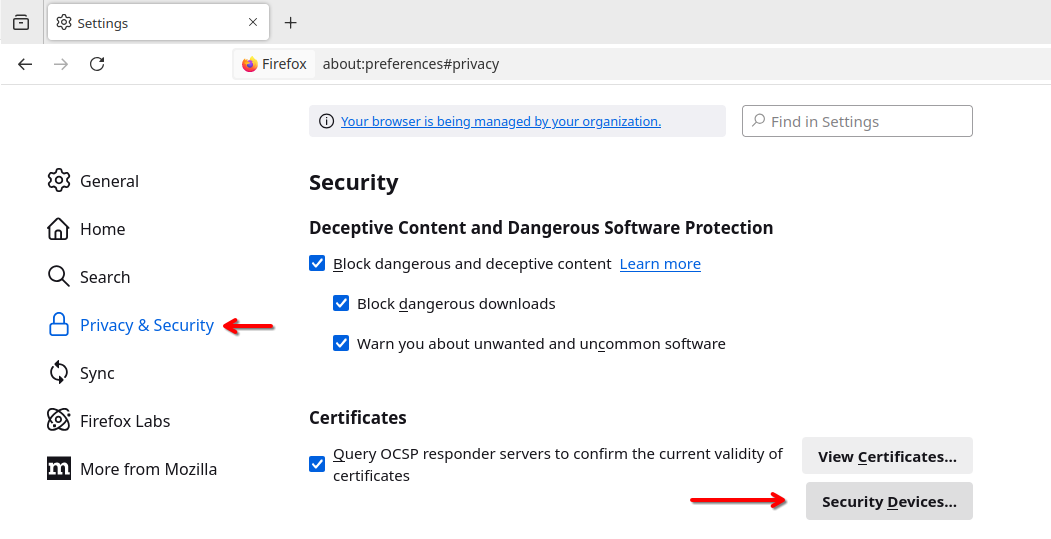
- Aprire Firefox, andare su impostazioni, Privacy & Sicurezza, scorrere fino alla sezione Certificati e cliccare “Dispositivi di Sicurezza“
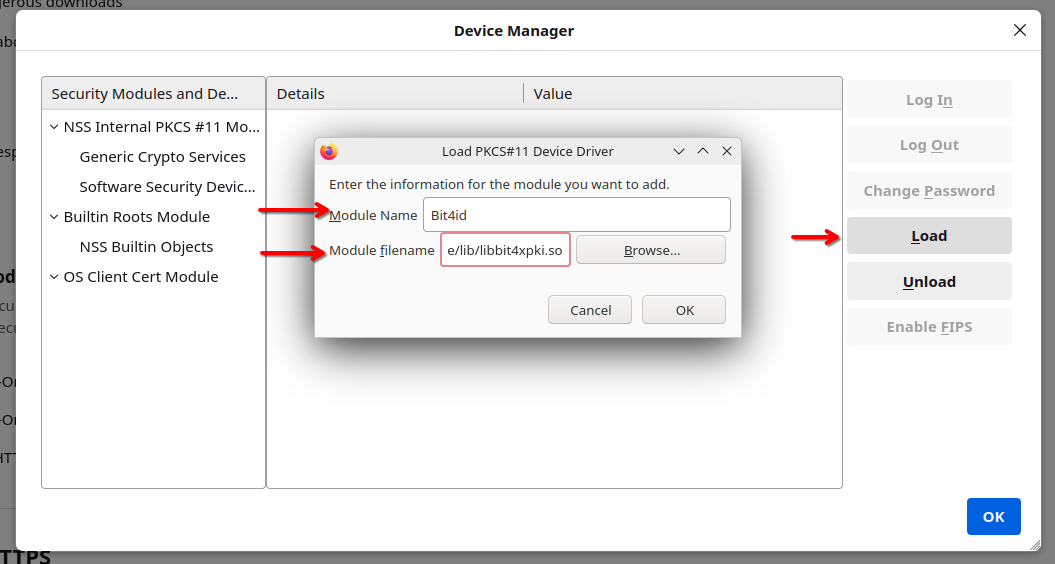
- Cliccare su Carica
- Inserire come Nome Modulo quello che volete, ad esempio
Bit4ide come file/usr/lib/gosigndesktop/resources/app/node_modules/@ice/dike-core-js/node_modules/@ice/dike-core-linux/native/lib/libbit4xpki.soe date OK a tutto
- Fine
Autenticazione CNS con Chrome o Chromium
- Installare i tool necessari per gestire l’NSS Shared DB
sudo apt install libnss3-tools opensc-pkcs11- Aggiungere il middleware al DB tramite il comando
modutil -force -dbdir sql:$HOME/.pki/nssdb -add Bit4id -libfile /usr/lib/gosigndesktop/resources/app/node_modules/@ice/dike-core-js/node_modules/@ice/dike-core-linux/native/lib/libbit4xpki.so- Fine
Dev & Hacking
Tool non necessari al funzionamento di cui sopra, ma utili per interagire con la Smart Card
pcscd libpcsclite1 pcsc-tools libccid libnss3-tools opensc-pkcs11